[BREAKGLASS] ❄️ Firmware and simulator for Coldcard Hardware Wallet
http://coldcard.com
| cli | ||
| docs | ||
| external | ||
| graphics | ||
| misc/obsolete-code | ||
| releases | ||
| shared | ||
| stm32 | ||
| testing | ||
| unix | ||
| .gitignore | ||
| .gitmodules | ||
| COPYING | ||
| LICENSE | ||
| README.md | ||
| requirements.txt | ||
Coldcard Wallet
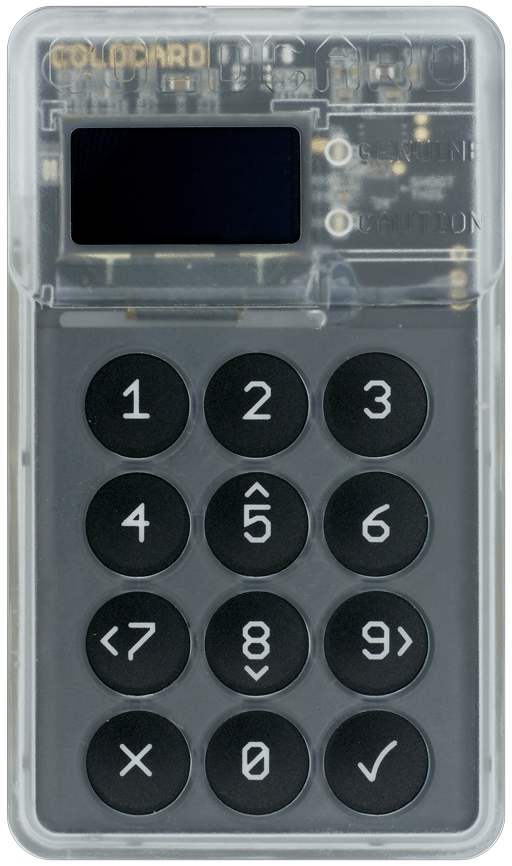
Coldcard is a Cheap, Ultra-secure & Opensource Hardware Wallet for Bitcoin and other crypto-currencies. Get yours at ColdcardWallet.com
Follow @COLDCARDwallet on Twitter to keep up with the latest updates and security alerts.
![]()

Check-out and Setup
Do a checkout, recursively to get all the submodules:
git clone --recursive https://github.com/Coldcard/firmware.git
Then:
cd firmwaregit submodule update --init(if needed?)brew install autogenvirtualenv -p python3 ENVsource ENV/bin/activate(orsource ENV/bin/activate.cshbased on shell preference)pip install -r requirements.txt
Setup and Run the Desktop-based Coldcard simulator:
cd unix; make setup && make; ./simulator.py
Building the firmware:
cd ../cli; pip install --editable .cd ../stm32; make; make firmware-signed.dfu- The resulting file,
firmware-signed.dfucan be loaded directly onto a Coldcard, using this command (already installed based on above) ckcc upgrade firmware-signed.dfu
Which looks like this:
[ENV] [firmware/stm32 42] ckcc upgrade firmware-signed.dfu
675328 bytes (start @ 293) to send from 'firmware-signed.dfu'
Uploading  [##########--------------------------]   29%  0d 00:01:04
MacOS
You'll probably need to install these at least these packages:
brew install sdl2 gcc-arm-embedded
Linux
You'll probably need to install these:
apt install libudev-dev python-sdl2
Code Organization
Top-level dirs:
shared
- shared code between desktop test version and real-deal
- expected to be largely in python, and higher-level
unix
- unix (MacOS) version for testing/rapid dev
- this is a simulator for the product
testing
- test cases and associated data
stm32
- embedded micro version, for actual product
- final target is a binary file for loading onto hardware
external
- code from other projects, ie. the dreaded submodules
stm32/bootloader
- 32k of factory-set code that you cannot change
- however, you can inspect what code is on your coldcard and compare to this.